 When you ask people what meals they eat when they go camping, the #1 answer is probably hotdogs or s’mores. Sure, hotdogs roasted over a fire do seem to taste better when you’re camping and s’mores are pretty amazing, but they don’t have to be your only options!
There are a few very important cooking tools and techniques which allow for some wonderful variation in your camping cuisine. I’ll get to all of those at some point, but for now let’s talk about using a dehydrator.
As a kid, I thought dehydrators were used for making beef jerky and homemade fruit roll-ups. And honestly, until about five years ago, I still thought that. But let me tell you, friends, dehydrators can do so much more.
Before we get to the how-to and such, check out a few of the benefits of dehydrating some meals before heading off on your next camping trip:
1. Space
Dehydrating food saves incredible amounts of space and weight! Rather than packing all of the necessary ingredients, pots & pans, etc. needed in order to cook a specific dish, you may end up with as little as a single ziplock bag. Unbelievable.
2. Time
Okay, so you still have to REhydrate the food, but it’s a lot less labor-intensive than preparing an entire complicated meal. Less time spent cooking, more time spent enjoying nature and the people you’re with or soak up the solitude if that’s what floats your boat.
3. Variety and Healthier Options
When I was a kid, we went camping for a week at least once every summer. My mom always made spaghetti with jarred Prego sauce on one of the nights as a special treat. Other than that, we lived on hotdogs, sandwiches, more sandwiches, and more hotdogs. And hotdogs. Oh, and chips. And Dr. Pepper. Um, did I mention all the swiss cake rolls and those sticky little mini cinnamon roll type things that had pecans in them? SO…obviously not the healthiest week of the year and not an incredibly exciting menu. But it doesn’t have to be this way! Dehydrating your meals prior to your trip allows for some impressive variation to the usual ho-hum meal plan AND – perhaps best of all – you can make healthy meals and will know exactly what’s in your food. Whether you want to dehydrate your favorite jar of marinara or make your own from scratch using organic and non-GMO ingredients, the choice is yours!
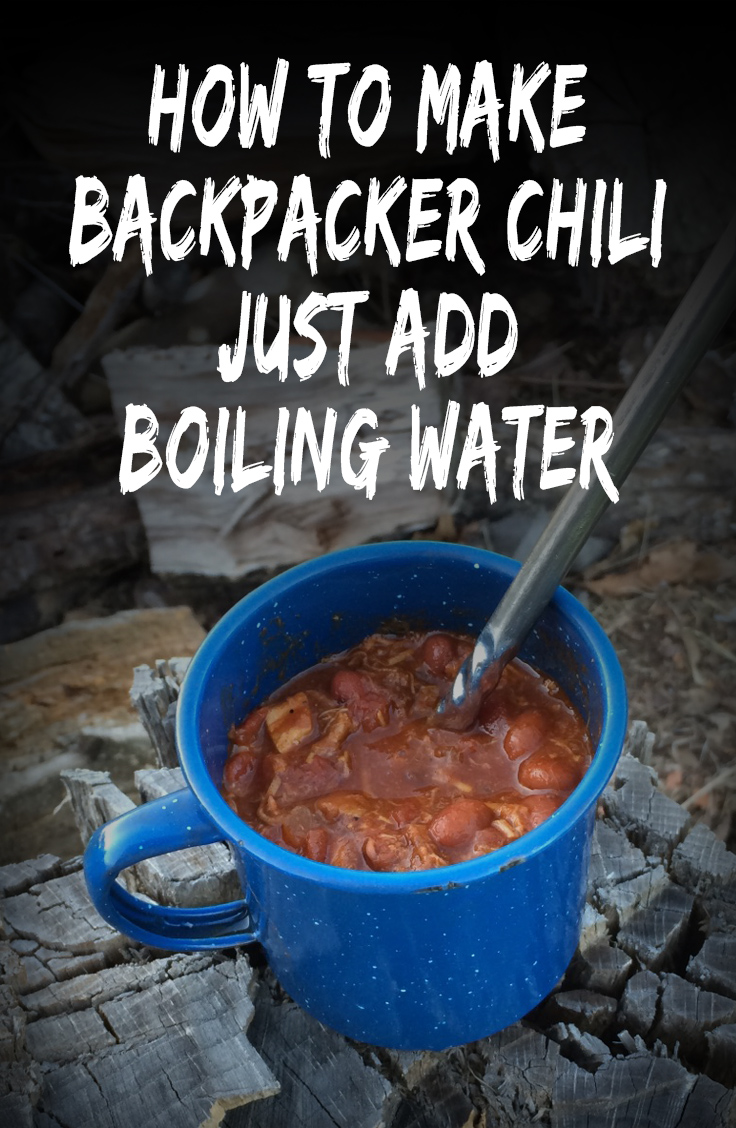
Now while it will probably be in the mid-80s in our neck of the woods when we head to Colorado next month, temperatures will dip to below freezing where we’ll be camping and I can’t think of too many meals more cozy and warming than a pot of chili. So rather than deal with all the ingredients and hassle of making it on site, I’m going to dehydrate some beforehand.
Step one is making the chili, of course. Feel free to use your own favorite recipe or you can give mine a try.
One important aspect of dehydrating foods for camping is that you have to be pretty minimal with fats. Butter isn’t a great idea and you should use olive and coconut oils sparingly. So if you choose a chili recipe that contains meat, you must remove as much fat as possible from the cooked meat. There are various methods for achieving this, but my plan this time around is to cook and drain the meat, then use paper towels to squeeze out as much fat as possible. When you rehydrate meat, it can be kind of gravel-like, so for every pound of meat you cook you need to add 1/2 cup of breadcrumbs to the process. Upon rehydrating, this will allow the meat to soak up more liquid.
After browning your meat and breadcrumbs and then draining the fat, continue to cook your chili as you normally would.
If you have time, allow the completed pot of chili to sit overnight in the refrigerator. Everyone knows chili tastes better the next day! Now it’s time to dehydrate.

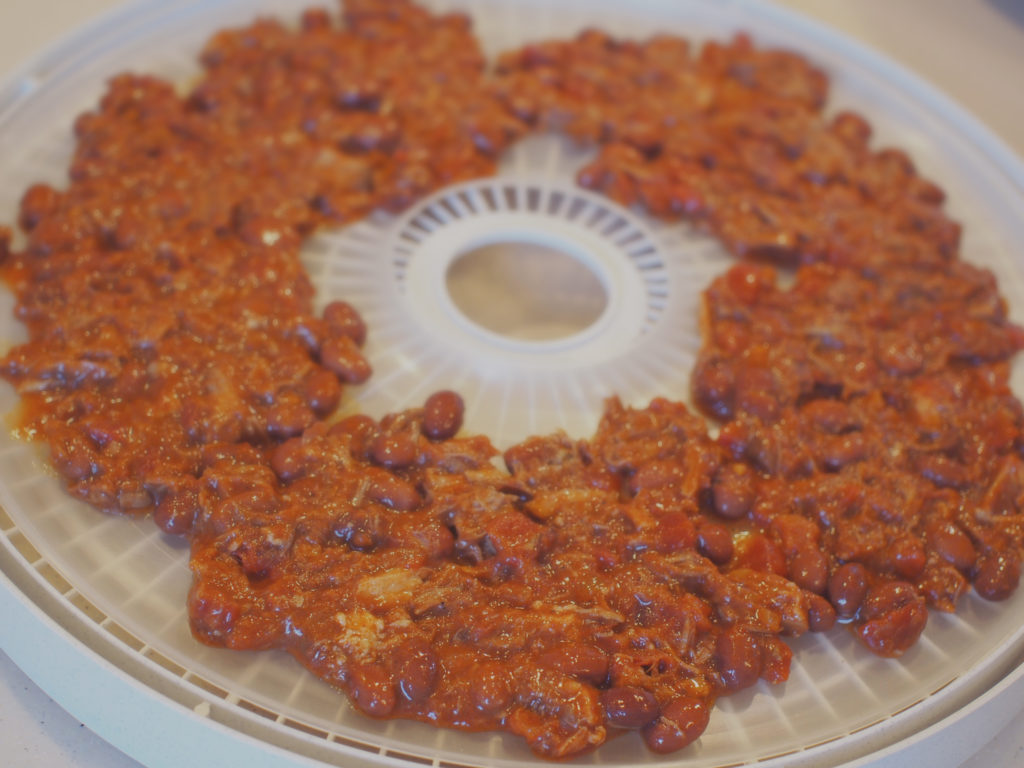
1. Spread prepared chili onto dehydrator trays lined with parchment or fruit roll-up trays. (There are plenty of dehydrators on the market to choose from, but this is the one I use.)
2. Dehydrate at your dehydrator’s meat setting.
3. After four hours, use a spoon or your fingers to break up the drying chili into smaller pieces so that more air can circulate around it.
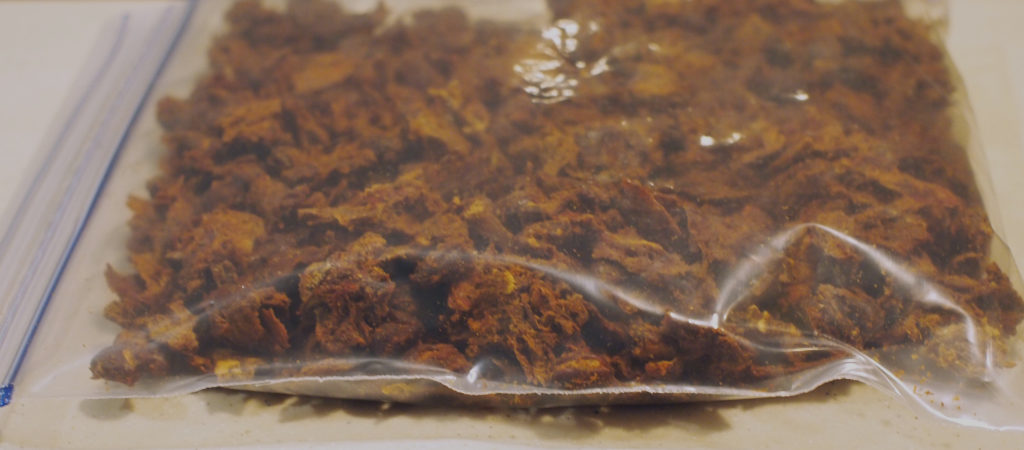
4. Total drying times will vary. After completely dry, divide into 1 cup or larger portions and store in ziplock bags.

A single pot of chili large enough to feed a family of five will probably dehydrate into a packable weight of well under one pound!
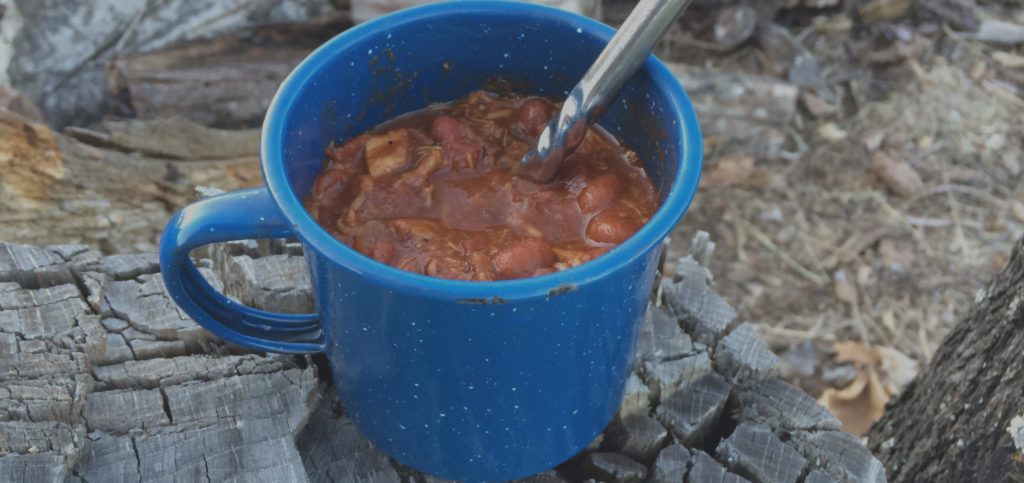
In order to rehydrate:
1. Add one cup chili to one part boiling water.
2. Allow to sit covered (preferable in a pot cozy) for at least 10 minutes.
3. That’s it! Eat up! Enjoy!

If you are planning to rehydrate the entire pot at once, you need to add equal parts water to the dried chili. Bring it to a boil and then cook one minute or so longer. After that remove it from the heat, put a lid on it, and allow to sit for at least 10 minutes.
I am so looking forward to sitting around a fire with my family while we enjoy this chili on our camping trip next month!
Have you used a dehydrator to prepare for your camping trips?